
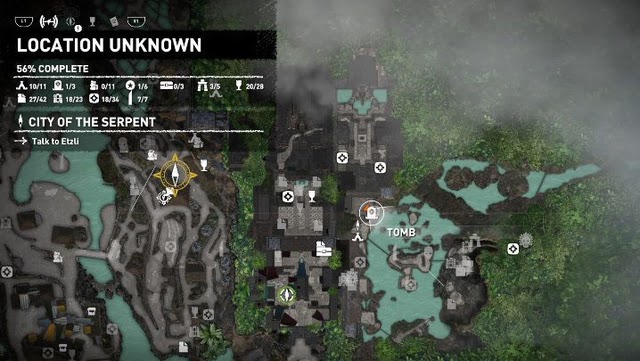
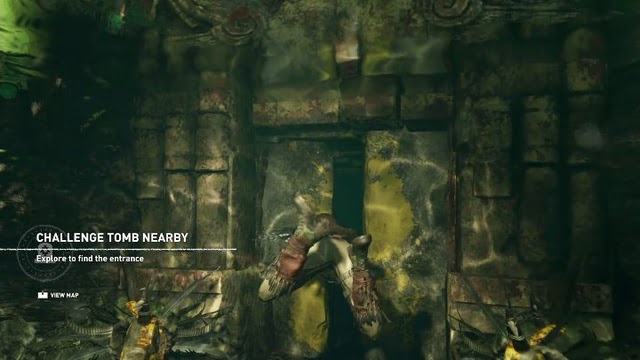
Shadow of the Tomb Raider has 3 challenge tombs in The Hidden City that are scattered throughout the area, most of which can be found while completing the main missions.
- Temple of the Sun
- Ancient Aqueduct
- Path of Battle
Temple of the Sun

The Temple of the Sun can be found near the Village Caves camp site, located in the south of The Hidden City.
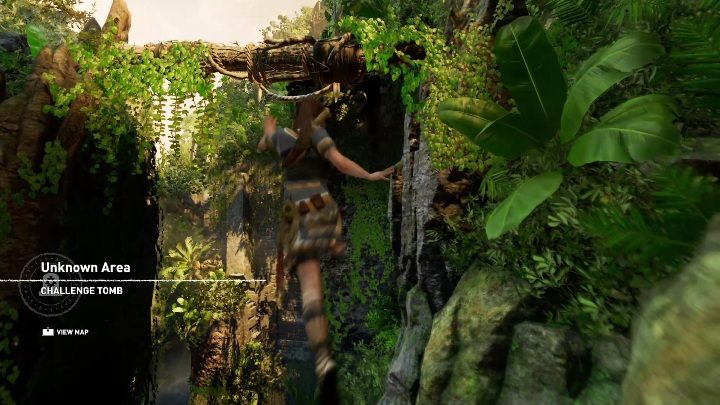
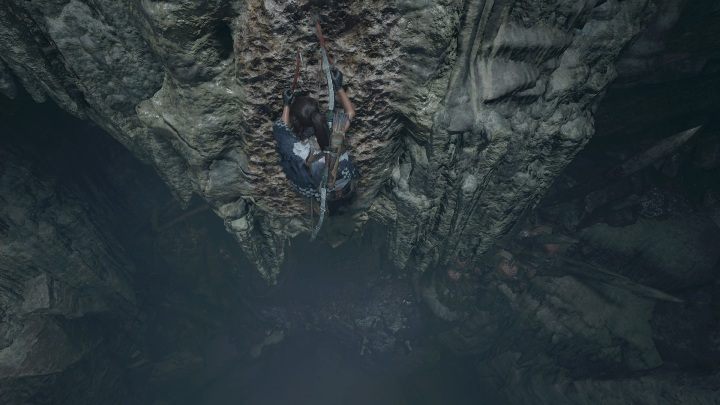
To access the Temple of the Sun, you need to break through the entrance with your axe and follow the straight path until you reach the cliffs. You then need to use your axe and rope to move across them. Your objective is to get to the other side and then proceed left on the rocks.

Once you get to the left side of the location, you will see an entrance to the cave that is easily visible as it illuminates in orange when exposed to light.

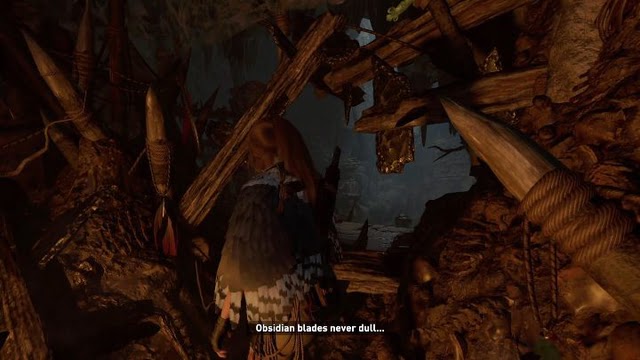
Upon entering the room, take a look around and you will find a mural and two treasures that will allow you to learn the dialects. However, in order to proceed further, you need to jump on the ladder located on the left side of the room.
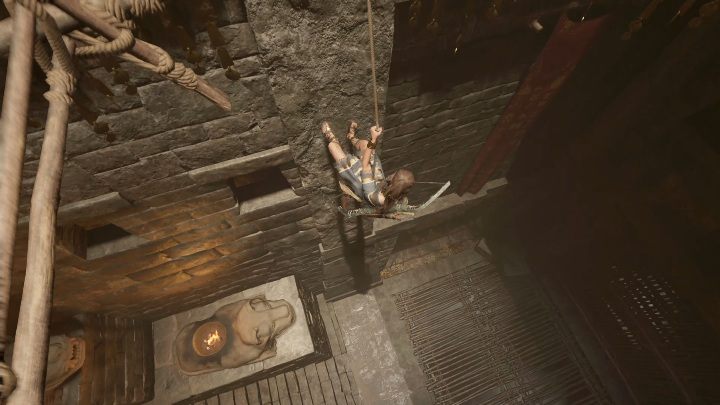
Continuing on, you will find yourself at the entrance to the next room. You need to jump on the climbing wall and drop down from it onto the rope.
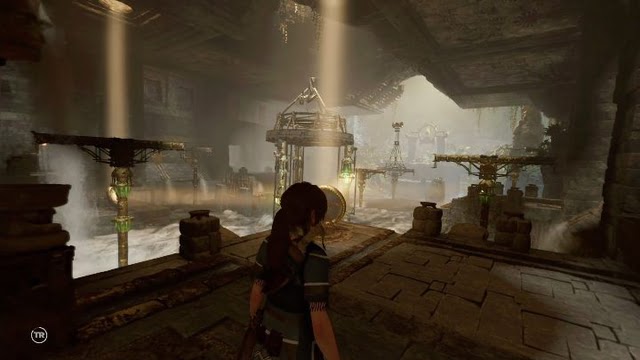
On the right side of the room, you will find barely open doors. You need to approach them and squeeze under them. You will come across a puzzle with mirrors.
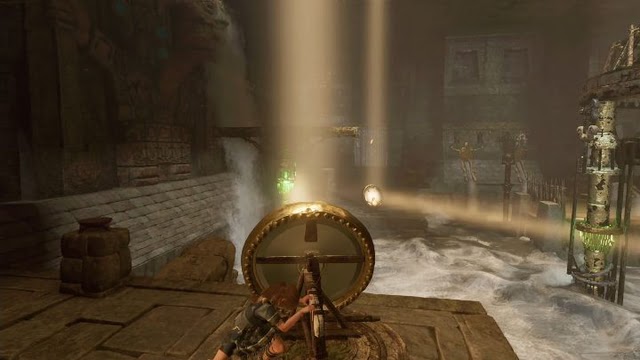
Your first task is to move the first mirror to the left. When you hit the green element, the shelf will move, allowing you to move to the other side of the shelf.

Position the second mirror as shown in the screen above. This will move the next shelf. Return to your first position.

Position the first mirror so that the light beam falls on the shelf on the right. Then move on to the very end of the object.

Set the next mirror in such a way that the light falls on the left column. This will allow you to return to your original position. To jump onto the shelf, you have to enter the wall and jump onto the object.
Adjust the first and second mirrors so that the light falls on the first column. Then return to the first position and set the first mirror again.

Position the first mirror so that the light falls on the third column. We’ve presented this in the screen above to make it easier to determine the position of the column. Then go back to the second mirror.

To reach the end of the location, jump to the right side and position the mirror so it falls on the nearest column. Afterwards, head back to the rocks between the second and third mirror.

Jump to the object shown in the screen above and go left until you reach the end of the object. This will lead you to the chapel.
Upon completion, you’ll receive the Hoatzin’s Hunger skill which increases the amount of natural materials collected from one place. This skill cannot be further developed.
Ancient Aqueduct
The Ancient Aqueduct is a tomb found near Upper City and is encountered during main missions. To access the tomb, you must wear a Serpent Guard suit.
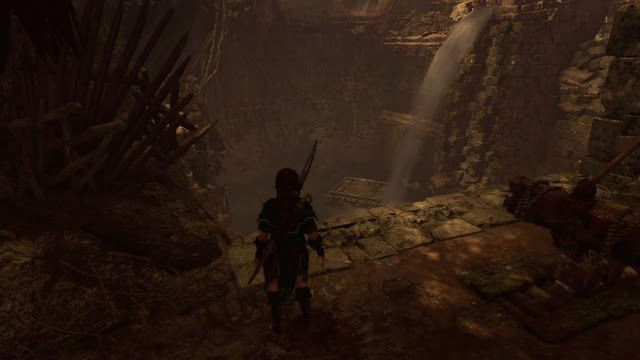
To reach the tomb, you must swim underwater and follow the path without deviation to reach the next room. From there, you can exit onto a rock shelf.
Climb up the rock shelves to the top of the cave to enter the cave. Inside, you’ll find a monolith that will improve your knowledge of the MAM dialect.
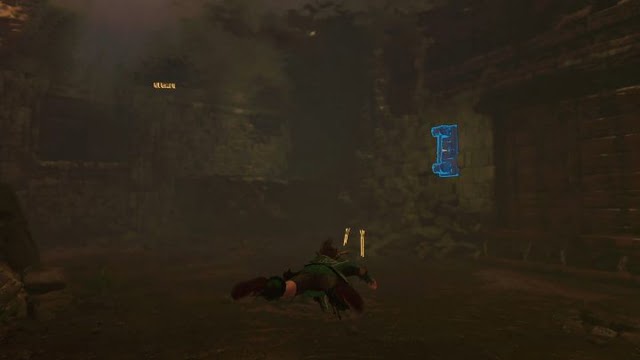
There is a minor game bug at this point where Lara suddenly stops and loses her equipment, leaving only her bow. Don’t worry and continue on; Lara will soon stop again to retrieve all her equipment, allowing you to use all your weapons.

Jump from the rocks into the water and swim to the other side of the room to reach the puzzle. Detailed guidelines for solving this tomb are described in the following section of this guide.
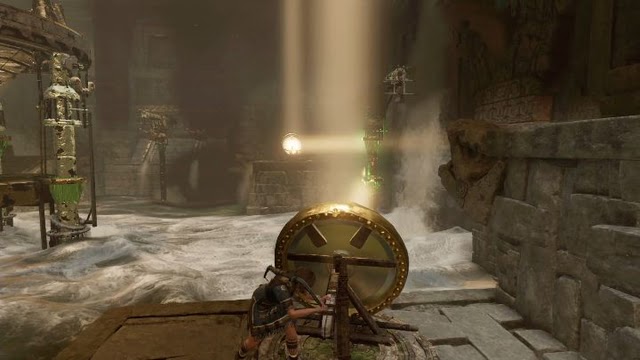
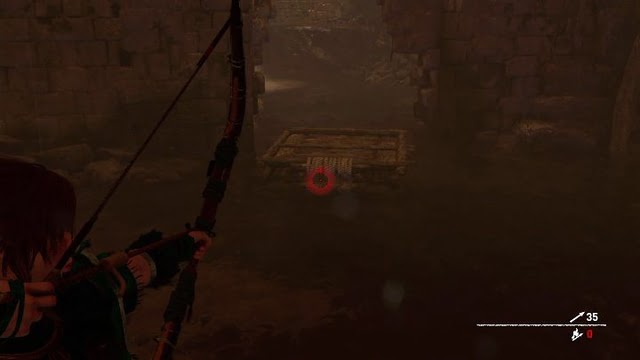
Your first task is to activate the machine on the right side of the cave by pulling it. This will fill the water reservoir and allow you to pull one of the rafts floating on the water by shooting the rope with your bow.
Next, jump into the water and find the gate on the left side. Open it with your axe to lower the water level and drag the raft to the next gateway.
Connect the spool on the gates and the one on the raft with a rope, then return to the machine and start it. This will fill the water reservoir again and open the gates on the bottom. Jump into the water and swim quickly to the other side of the cave.

Underwater, swim to the left until you reach a closed passageway. Open it with your axe and swim to the surface.

In order to progress while underwater, use your axe to open the gate. This will decrease the water level and allow you to open another passage with your bow.
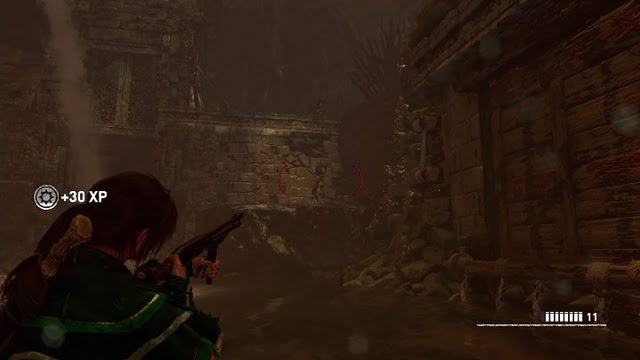
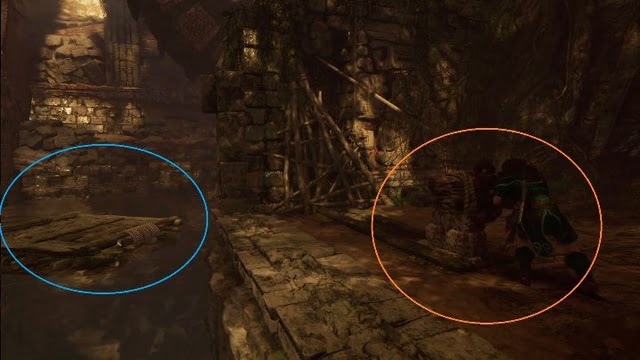
Upon opening the passage, a group of enemies will appear. It’s best to use a shotgun to eliminate them as they move too quickly for the bow.
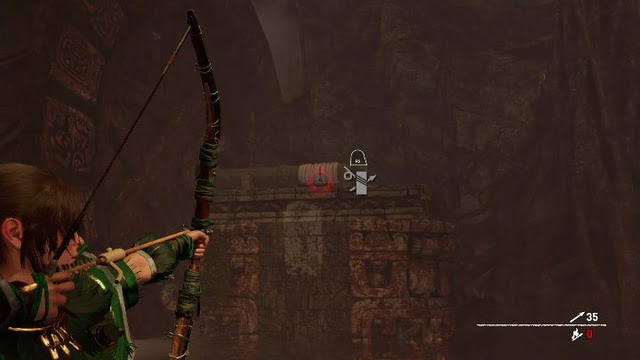
The next task is to pull the raft to the other side of the cave. Shoot the rope knot with accurate shots to allow Lara to pull the raft across. After completing this task, return to the machine and fill the tank with water.

Jump into the tank filled with water and stand on the raft before jumping out into the open passage ahead.

As you move towards the next room, be prepared to fight off a group of enemies. After defeating them, head upwards and activate another machine to pour water. This will cause more enemies to appear, which must be eliminated in order to continue.
The next task is to connect a rope from the raft to the rope near the mill. Climb on the rocks near the mill and connect successive ropes. After completing this task, a few enemies will appear and cut the ropes, causing the path to be destroyed. Eliminate them and repeat the process to reconnect the ropes and cross to the other side safely.
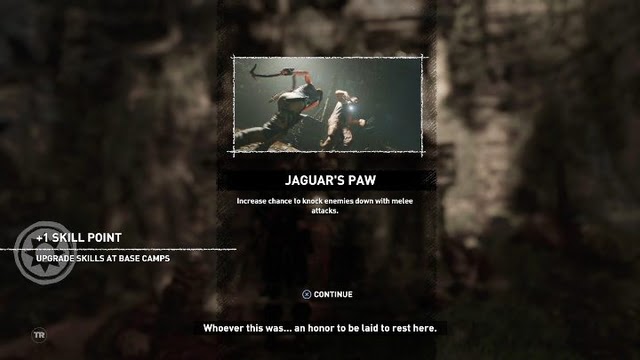
Upon completing this challenge tomb, you will obtain the Jaguar’s Paw skill, which increases the chance of knocking down an enemy with a melee attack.
Path of Battle

The Path of Battle tomb can only be accessed by completing the Hearts and Minds side mission.
To enter the tomb, swim through a gap underwater and navigate past sharp traps.
Once out of the water, jump on the wall and descend using the rope to avoid death.
Squeeze through the traps on the right wall to access the machine that will activate the traps and allow you to safely cross the road to the other side.
On the way to the chapel, you will come across a big trap that is locked and cannot be entered. To bypass it, you need to head towards the right side of the trap, activate the machine, navigate through small traps and start the machine in front of a larger trap. Once you have successfully completed this sequence, repeat the same process on the left side. If done correctly, the trap will stop, allowing you to climb up to the chapel. After finishing the challenge tomb, you will acquire the Sip’s Quiver ability, which enables Lara to shoot three arrows without removing them from the quiver.
FAQ
1. What are Challenge Tombs in Shadow of the Tomb Raider?
Challenge Tombs are optional puzzle-filled areas found throughout the game Shadow of the Tomb Raider. These tombs are hidden in different locations and require players to solve various puzzles to progress through them. Completing these tombs will reward players with unique skills and equipment that will help them in their journey.
2. How many Challenge Tombs are in Shadow of the Tomb Raider?
There are a total of 9 Challenge Tombs in Shadow of the Tomb Raider. Each tomb has its own unique puzzle and rewards. Players can locate these tombs by exploring the game’s map or by using their Survival Instincts ability to highlight nearby tombs and other points of interest.
3. Are Challenge Tombs necessary to complete the game?
No, Challenge Tombs are optional and not necessary to complete the main story of the game. However, completing these tombs will provide players with useful skills and equipment that can help them in their journey. Additionally, completing all Challenge Tombs is required to unlock the “Tomb Raider” trophy/achievement.
4. Are Challenge Tombs difficult to complete?
The difficulty of each Challenge Tomb varies depending on the player’s problem-solving skills and experience with puzzle games. Some tombs may be more challenging than others, but the game also provides hints and clues to help players progress. Additionally, players can adjust the game’s difficulty level to suit their preferences, making the tombs easier or more challenging to complete.

James, a young and enthusiastic gamer. With a passion for gaming, he personally plays and experiences the games he writes about, providing authentic and insightful content to fellow gamers.