
New objective: Talk to Enthir
Even with the “misunderstanding” with Mercer Frey, you can still enter the Thieves Guild headquarters, but won’t find the Leader there. Brynjolf is missing and will be found later. After leaving Snow Veil Sanctum and talking with Karliah, go to Winterhold to find Enthir and give him Gallus’s Encoded Journal. To get to the town, head northwest from your current location. Enthir will be at The Frozen Hearth tavern.
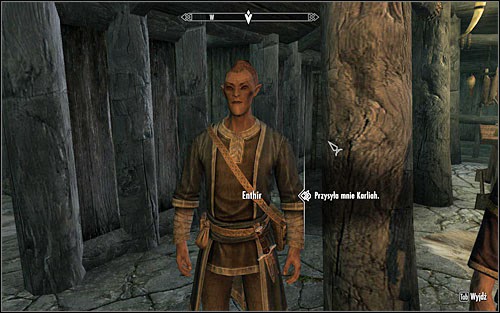
Enthir says the journal is written in the Falmers’ language, and only the scholars in Markart can translate it. You’ll need to go there.
New objective: Speak with Calcelmo
Markart is a city in the far west of Skyrim. You can take a carriage or walk west from Rorikstead, but the road is long and perilous. When you arrive, go to Understone Keep (shown above) and speak to Calcelmo. He won’t help you at first, but you can try persuasion, offering a bribe, or intimidation. If your Speech skill is low, these options may not work. You can also steal the key from Calcelmo, take it from his desk, picklock the door, or complete the Miscellaneous: Kill Nimhe inside Nchuand-Zel.
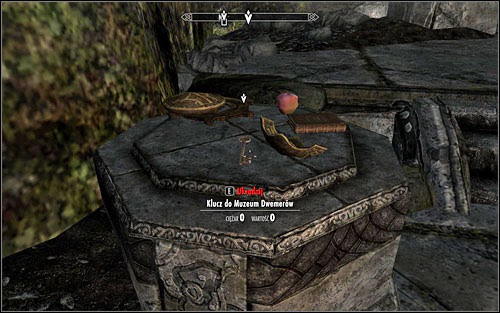
New objective: Obtain the key to Calcelmo’s Museum (Optional)
If you can’t convince Calcelmo to give you the Dwemer Museum Key, or don’t want to complete a mission for him, you can try stealing the key from his table. This is the easiest option.

Whichever option you choose, you can now enter the Dwemer Museum.
New objective: Gain entry to Calcelmo’s Museum
As you approach the door to the Dwemer Museum, a guard will stop you. If you sneak by and open the gate, the guard won’t catch you. You can get the Museum Key from Calcelmo at the other end of the corridor. If you don’t want to get it legally, you can use lockpicks.

New Primary Objective: Obtain Calcelmo’s Falmer Translating Guide
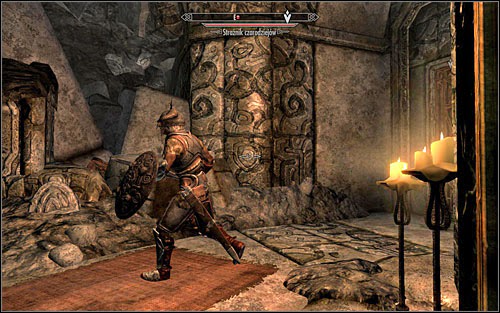
The mission’s most exciting aspect begins now. If you failed to persuade Calcelmo, you will need to sneak into the museum and evade the guards. If you have the mage’s permission, you can freely move around the room. However, if he is not on your side, you will be arrested and fined each time you are caught.

Although the museum has only three guards, it’s best not to engage them in combat. Fighting them will result in a bounty of 3000 gold on your head, which you’d rather avoid. Therefore, it’s best to quietly sneak to the door on the other side of the room. If you have developed the Sneak skill enough and remain in the shadows, you should be able to do it without difficulty.

Once you have passed the guards, you will arrive at Calcelmo’s Laboratory. This area is not guarded by soldiers but rather by regular thugs, and you will not receive a bounty if you kill them. Therefore, you can either kill everyone in your path, sneak past them, or explore the room on the left to find the Spider Control Rod. Use it to control the Dwemer Spider, who will be more than happy to tear apart anyone that you instruct it to.

Regardless of how you reach the Laboratory, you should explore the underground area and collect several interesting items. Additionally, you can find the key to the Laboratory itself by stealing it from the guards or from the sleeping quarters. After reaching the Laboratory gate, prepare for a fight, as you will likely encounter the mage and bandit sitting there. Once you’ve dealt with them, read the book found on the table to increase your Alchemy skill. In the same room, on the pedestal to the left, you will find the Dwemer Puzzle Box, which will undoubtedly pique Delvin Mallory’s interest at The Ragged Flagon.

After defeating the guards, enter the balcony and proceed to Calcelmo’s Tower. Once inside, enter the corridor to the left and go into the mage’s room. On the desk, you will find the Chimarvamidium, Ancient Tales of the Dwemer Part VI, which will improve your Heavy Armor skill. After enhancing your knowledge, open the door to find Calcelmo’s Guide. However, you will be surprised to discover that the mage’s notes are not in book form but rather carved into a stone (see screen below).

New Primary Objective: Duplicate the writing on Calcelmo’s Stone
Unfortunately, you cannot take the entire stone with you and use it to translate Gallus’s Journal. However, there is a straightforward solution to this problem: return to Calcelmo’s office and take the Charcoal and the Roll of Paper. With these, you can copy the notes.

As you work, a large group of Wizard Guards will enter the room. Fighting them is not a wise idea, so it’s best to avoid them and escape outside.
New primary goal: Return to Enthir in Winterhold
Once you have obtained the necessary information, leave the room where you found Calcelmo’s Stone. Beware of the large number of guards that may make it difficult to escape. It’s better to avoid fighting them and instead run towards the balcony. From there, turn to the right and head towards the waterfall. This way, you can easily exit the Understone Keep.
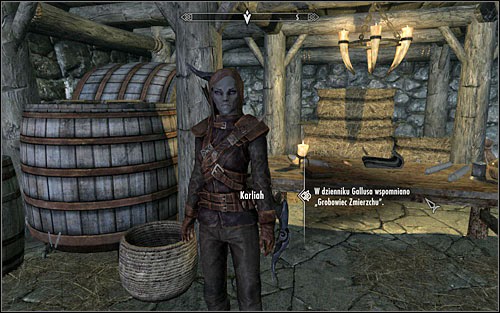
After successfully escaping, return to Winterhold. Enthir can be found in the basement of The Frozen Hearth tavern, where you will also meet Karliah.
New primary goal: Speak to Enthir
According to the notes you have found, it becomes clear that Gallus has been suspicious of Mercer Frey’s loyalty for a long time. Furthermore, Mercer has now caused an even bigger problem by violating The Twilight Sepulcher.

Karliah is clearly shocked by this information, so you should talk to her about your discovery. At the same time, Enthir will become a Fence and you can sell him any stolen items you have.
New primary goal: Speak to Karliah
Approach Karliah and she will tell you about “The Nightingales” – a secret organization that is responsible for protecting The Twilight Sepulcher. She, Gallus, and Mercer Frey were all members of this organization. However, Mercer broke his oath to Nocturnal – the patron of thieves – and defiled her temple.
Karliah will reward you with the powerful Nightingale Blade and ask you to meet her at The Ragged Flagon as a gesture of gratitude.
Thieves Guild quest unlocked: The Pursuit
FAQ
1. What are hard answers?
Hard answers are those that are difficult to find or understand. These answers may require extensive research, critical thinking, or specialized knowledge. In many cases, hard answers are sought after because they offer valuable insights or solutions to complex problems. However, they may also be frustrating or elusive, especially when there are conflicting opinions or limited information available.
2. Why are hard answers important?
Hard answers are important because they can help us make informed decisions, solve difficult problems, and improve our understanding of the world. They often require us to think deeply about a topic and consider multiple perspectives, which can lead to personal growth and intellectual development. Hard answers also have practical applications, such as in scientific research, medical diagnosis, or legal proceedings. Without hard answers, we may be left with incomplete or inaccurate information, which can lead to poor decisions or missed opportunities.
3. How can we find hard answers?
Finding hard answers requires persistence, curiosity, and a willingness to explore new ideas. Some strategies for uncovering hard answers include conducting research, consulting experts in the field, seeking out diverse perspectives, and critically evaluating sources of information. It’s also important to be open-minded and flexible, as hard answers may challenge our assumptions or beliefs. Ultimately, finding hard answers requires a commitment to learning and growth, as well as a recognition that the pursuit of knowledge is often a lifelong journey.

James, a young and enthusiastic gamer. With a passion for gaming, he personally plays and experiences the games he writes about, providing authentic and insightful content to fellow gamers.