
Our guide to TES V: Skyrim provides a detailed walkthrough for the third part of the Under Saarthal side quest, which is one of the College of Winterhold quests. This quest reaches its conclusion in the ruins of Saarthal where players must defeat two mini-bosses, Draugr Deathlord and Jyrik Gauldurson. Additionally, players must solve another pillars puzzle.
- Mini-boss duel – Draugr Deathlord
- Solution to the second pillars puzzle
- Mini-boss duel – Jyrik Gauldurson
- New main objective: Talk to the Arch-Mage
Mini-boss duel – Draugr Deathlord
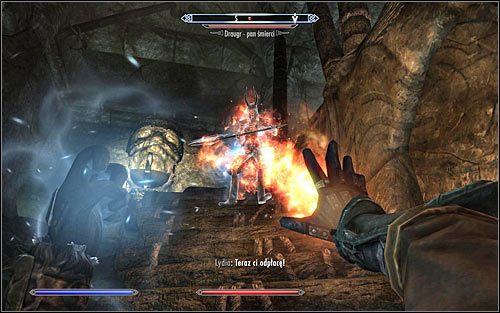
Before entering the southern room, save your game. Players must fight the mini-boss Draugr Deathlord (as seen in the above screen). As the monster is a warrior, it’s advisable to keep a distance. Use your best powers, spells, and items as the Draugr is highly resistant. After defeating the mini-boss, players should examine the body to collect the Ebony Battleaxe, a precious item for warriors.
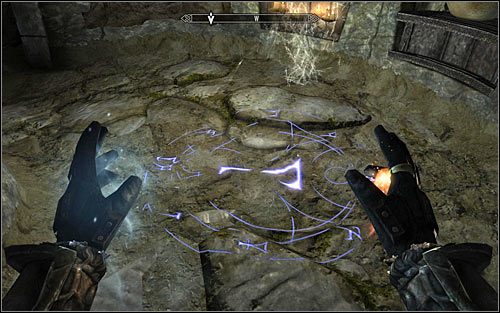
Players should then go up the stairs and head to the southern door. However, caution is advised as there are two traps in the nearby corridor (as seen in the above screen) that may electrocute players. It’s best to destroy them from a safe distance.
Solution to the second pillars puzzle
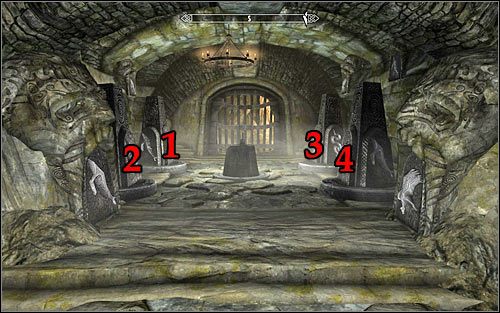
After destroying both traps, players can access the room with another puzzle. Stand in the position shown in the above screen, opposite to the locked grate. Players must approach the pillars in the following order:
1) Approach pillar 1 (second from the left) which shows a snake by default. However, the plate behind suggests that it should show a fish. Turn the pillar so it shows a fish. It’s not important that turning this pillar also turns the others. The order presented in this guide must be followed.
2) Approach pillar 2 (first from the left) which shows a hawk by default. However, the plate behind suggests that it should show a snake. Turn the pillar so it shows a snake.
3) Approach pillar 3 (second from the right) which shows a snake by default. However, the plate behind suggests that it should show a hawk. Turn the pillar so it shows a hawk.
4) Approach pillar 4 (first from the right) which shows a snake by default. However, the plate behind suggests that it should show a fish. Turn the pillar so it shows a fish.
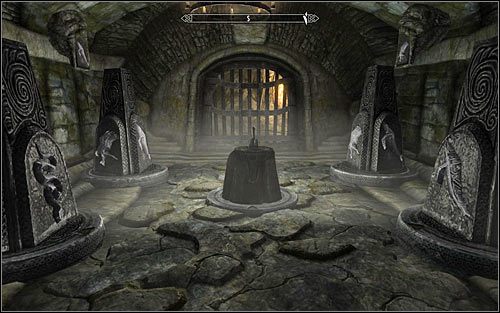
The correct pillar arrangement is shown in the screen above. If players make a mistake, they must repeat everything in the above order to avoid the problem of multiple pillars moving at the same time. Pull the lever to use the newly unlocked passage.
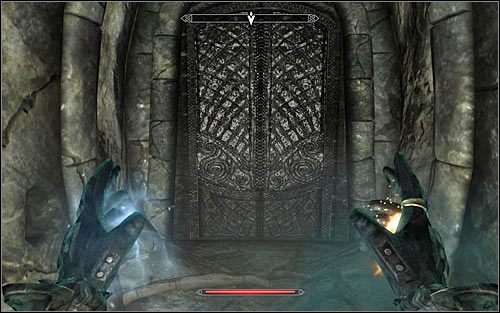
Players should soon be joined by Tolfdir, so it’s advisable to wait for him. Players should also look out for the pressure plate in the corridor that activates a trap (poison arrows). The objective is to reach the big door (as seen in the screen above) and enter the room behind. It’s recommended to save the game as the final battle of this quest awaits.
Combat with mini-boss – Jyrik Gauldurson
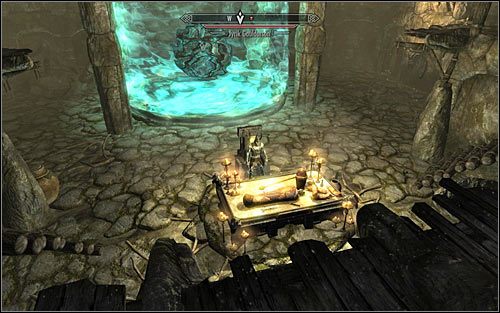
Before examining the magic sphere in the distance, you must defeat Jyrik Gauldurson (as shown in the screen above). Do not attack him initially as your attacks will have minimal effect. Wait for Tolfdir to inform you that the boss is resilient and has lost some of his power.

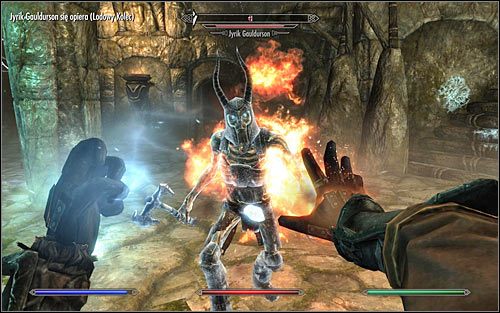
After Tolfdir weakens Jyrik, commence your attack. You can use standard spells, powers, Shouts, and magic items, or you can use the easier strategy of attacking Jyrik with the opposing element. Jyrik alternates between fire and ice spells, so use ice spells if he uses fire or fire spells if he uses ice. Regardless of your tactic, you must completely deplete Jyrik’s hp bar.

After defeating Jyrik, search his body for the valuable Gauldur Amulet Fragment. You can also take the Writ of Sealing, which is linked to a side quest. Speak to Tolfdir regarding the magic sphere (as shown in the screen above). He will ask you to inform the Arch-Mage about your discovery and remain behind.
New objective: Talk to the Arch-Mage
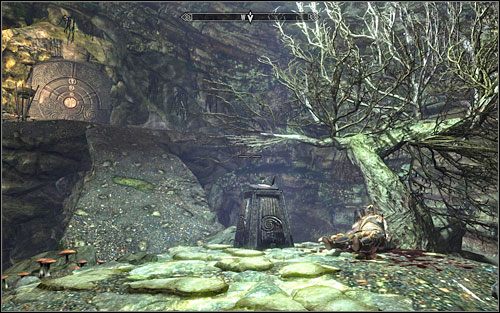
You can use the door behind the magic sphere to leave the ruins (as shown in the screen above). Pass through the narrow corridor and approach the Word Wall to learn the Word of Power – Ice, Ice Form. Additionally, check the chest for valuable artifacts, including the Adept Robes of Restoration.

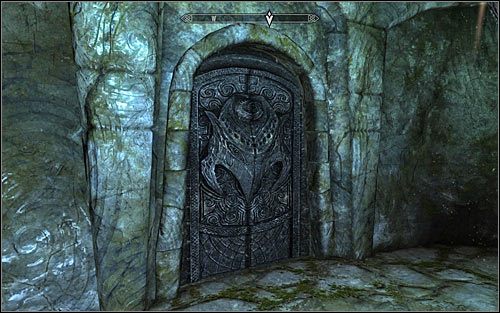
Exit through the western door (as shown in the screen above) to return to Saarthal Excavation. Interact with the handle to reach previously visited rooms and head towards the surface.
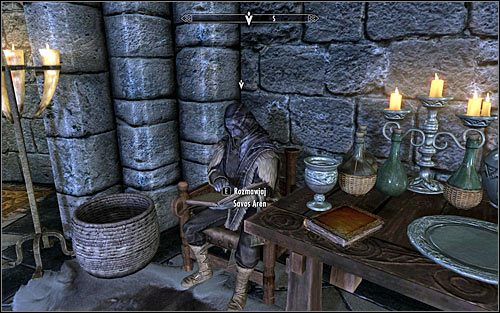
Open the world map and travel to the College of Winterhold. Enter the Hall of the Elements and unlock the left door to the Arch-Mage Quarters. Speak to Arch-Mage Savos Aren (as shown in the screen above) and inform him of your discovery. He will ask you to investigate the sphere’s origin and meaning and reward you with the Staff of Magelight.
College of Winterhold quest unlocked: Hitting the Books
You can connect the Gauldur Amulet’s three pieces into one. Refer to the Forbidden Legend’s Reforge the Gauldur Amulet section for instructions on how to do this.
FAQ
1. What is the quest “Under Saarthal” about?
The quest “Under Saarthal” is a side quest in the game Skyrim. It involves exploring the ruins of Saarthal, an ancient city that was once inhabited by the Nords. The quest is given to the player by Tolfdir, a mage who is teaching at the College of Winterhold. The player is tasked with exploring the ruins and uncovering the secrets of Saarthal, which is believed to have been the site of a great battle between the Nords and the elves.
2. How do I start the quest “Under Saarthal”?
To start the quest “Under Saarthal,” you must first join the College of Winterhold and complete the quest “First Lessons.” After completing “First Lessons,” talk to Tolfdir, who will give you the quest. You can find Tolfdir in the Hall of the Elements, which is located in the College of Winterhold.
3. What do I need to bring with me to complete the quest “Under Saarthal”?
You don’t need to bring anything specific with you to complete the quest “Under Saarthal.” However, it’s always a good idea to bring plenty of potions, as there are many enemies and traps in the ruins. You may also want to bring a follower, such as Lydia, to help you in combat. Additionally, if you have any spells or weapons that are particularly effective against undead enemies, such as draugr, it’s a good idea to bring those as well.
4. How long does it take to complete the quest “Under Saarthal”?
The time it takes to complete the quest “Under Saarthal” can vary depending on your level and playstyle. On average, it takes about 30-45 minutes to complete the quest if you focus solely on completing the objectives and don’t spend too much time exploring the ruins. However, if you take your time and explore the ruins thoroughly, it can take up to an hour or more to complete the quest.
5. Are there any rewards for completing the quest “Under Saarthal”?
Yes, there are several rewards for completing the quest “Under Saarthal.” First, you will receive a substantial amount of gold as a reward for completing the quest. Additionally, you will receive the “Saarthal Amulet,” which increases your magicka by 30 points. Finally, completing the quest is a requirement for advancing in the College of Winterhold questline, so it’s necessary in order to become the Arch-Mage.

James, a young and enthusiastic gamer. With a passion for gaming, he personally plays and experiences the games he writes about, providing authentic and insightful content to fellow gamers.