
How to initiate the quest: Complete the Here Lies the Abyss quest
Quest giver: –
Arabor Wilds
Once you have finished the Here Lies the Abyss quest, you can start another one in the main storyline. The quest is divided into several stages and the recommended level to complete it is 16-19. To receive the quest, visit the war room and activate the operation with the mission name – cost: 40 Power points.
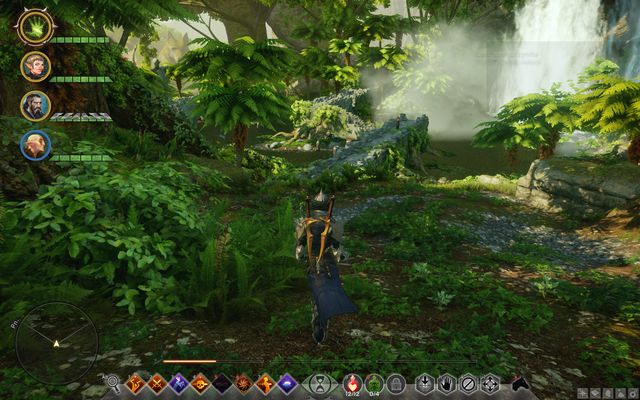
You will be transported to the Arabor Wilds (M29,1a), which serves as a battlefield for various units of Corypheus’s army. You can either engage in the battle or bypass it and head straight to the Mythal Temple (M29,1b).

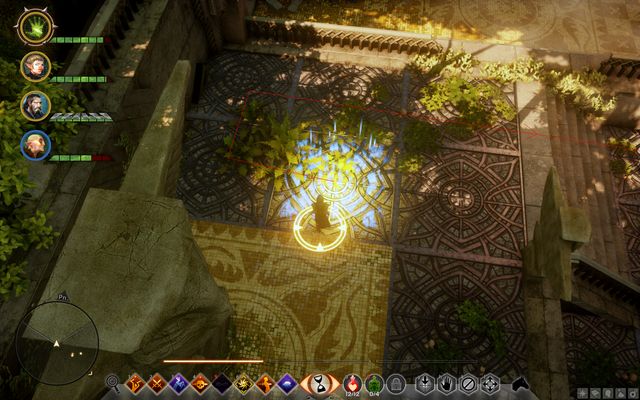
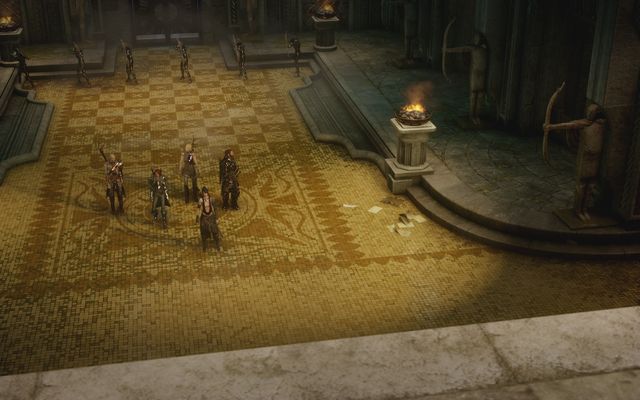
The Mosaic in the Temple
Once at the Mythal Temple, approach the mosaic in the center (M29,1c). The slabs on the mosaic glow blue when stepped on. Your task is to light all of the slabs, following these rules:
- Slabs that have been stepped on by a party member do not count;
- Stepping on a lit slab will switch off all other slabs;
- You cannot skip a slab by hopping over it;
- You cannot step outside of the ritual area – onto the flooring, barriers, etc;
- You can step on the gold-colored flooring – it is neutral and does not reset the slabs.
Once you solve the puzzle, the door on the upper level opens, allowing you to proceed into the temple.
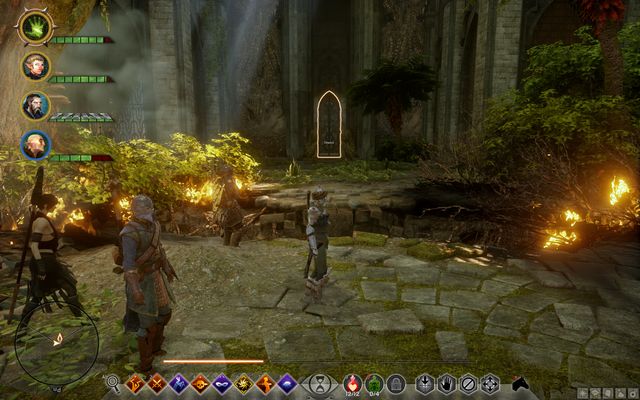
Two Paths: The Door in the Distance or the Hole Next to You
Now, you have two options: perform the ritual (M29,1d-1f) and enter through the main door (M29,1g), or enter from below (M29,1h) after defeating the Red Templars. Your choice is crucial because the elven guards will become hostile towards you if you skip the rite. However, if you perform it, they become your allies and guide you through secret passages that would be otherwise inaccessible. Alternatively, you can perform the ritual and follow the tunnel behind the Templars to gain the elves’ favor.
The First Ritual
To perform the rite, you need to solve puzzles similar to the one at the entrance. The first ritual (M29,1d) requires you to deactivate all the slabs by walking to the center of the mosaic. Then, step onto the second slab from the wall, turn left and walk over the outer rim, over the stairs down. Turn right and reach the end, where you walk over to the neighboring slab. Return over the outside rim. Once you walk onto the stairs, go left and light the remaining slabs. After the first mosaic is lit, hop over the low wall and make the pattern over the second mosaic in a nearly identical way – start with the first slab in the corner.

The second ceremony
The second ceremony (M29,1e) is incredibly simple: just stand on the slab on the stairs and go left. Zigzag your way up and walk around the second statue on the left. Keep zigzagging up until you return to the starting slab.

The third ceremony
The final ceremony (M29,1f) may be a bit tricky. First, go to the center and use the lever. Then, stand on the single slab on the left and head towards the open gate. Zigzag your way over all the slabs there. Come back by staying at the same height as the starting slab. Stand on the golden flooring and use the lever. Now, as you stand on the rim, zigzag your way to the opposite edge. Next, light all the slabs around the statue in the center.
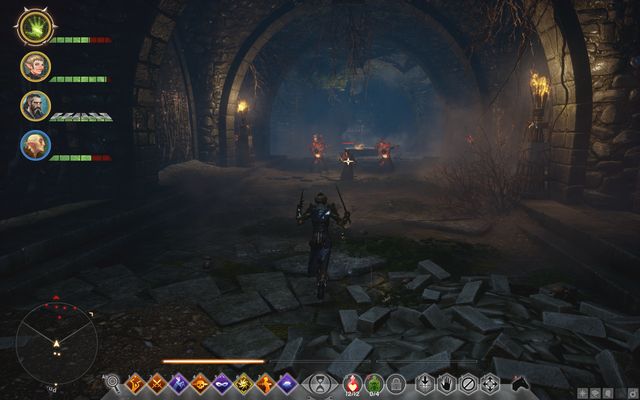
The temple’s sewer system
If you enter the hole (M29,1h), you’ll find yourself in the sewers. To get to the other side of the sewers, go left from the entrance as far as possible. Then, return to the other side, but across the passage at the other end.

The lever for the grate
At the other side, there’s a passage behind a grate that you can open with the hidden lever (M29,1i) next to the veilfire torch.
Surrounded by elven guards
Upon entering the main corridor, you’ll be surrounded by elves. If you can’t or don’t want to ally with them, you’ll have to fight them. However, if you do ally with them, follow the old elf guide with the cane after the cutscene. He’ll lead you to the last door (M29,1j) of this stage.

The elf guide
If you choose to go alone, be prepared for a lot of fighting with both the elves and the Red Templars. If you see that they have the upper hand, let them fight each other and finish off the survivors.
The artifact that can destroy Samson’s armor
When you reach the last door, go down the stairs. There, you’ll encounter Samson, Corypheus’s right-hand man. Note: if you completed the “Before the Dawn” quest for Cullen, you can now use the artifact to destroy Samson’s armor.

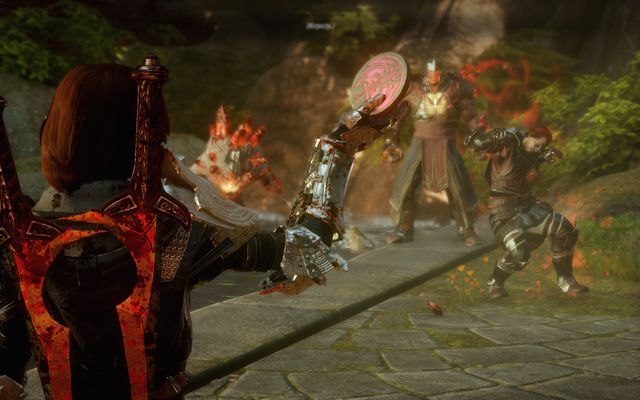
Samson
If you’ve allied with the elves, Abelas will help you fight Samson. The enemy is slow but tough, and the battle may take a while. If you’re a ranged character, avoid his attacks and don’t interrupt your own. If you fight up close, watch out for Samson’s swings and occasional spinning attacks across the arena. As you deplete his health bar, he’ll become stronger and more sluggish at the same time. His parameters increase every 25% of health.

Following the battle, a cutscene will appear where you must make a decision regarding who will receive the well’s power. You have the option to choose either yourself or Morrigan. The chosen individual will be responsible for leading conversations throughout the remainder of the game. It’s important to note that there are no rewards for completing this quest.
FAQ
What is “What Pride Had Wrought”?
“What Pride Had Wrought” is a phrase that refers to the consequences of excessive pride or hubris. This phrase originally comes from William Shakespeare’s play “Julius Caesar” where the character Cassius warns Brutus about the dangers of Caesar’s rise to power. The phrase has since been used in various contexts to describe the negative outcomes of overconfidence and arrogance.
What are some examples of “What Pride Had Wrought”?
One example of “What Pride Had Wrought” is the story of Icarus from Greek mythology. Icarus flew too close to the sun with his wings made of feathers and wax, despite his father’s warnings. The wax melted and he fell to his death. Another example is the downfall of Napoleon Bonaparte, who became overconfident in his military victories and ultimately lost his empire. These examples illustrate how pride can lead to disastrous consequences.
How can one avoid the negative effects of pride?
To avoid the negative effects of pride, one must practice humility and self-awareness. It is important to recognize one’s limitations and weaknesses, and to be willing to learn from others. Seeking feedback and constructive criticism can also help prevent the development of excessive pride. Additionally, cultivating gratitude and focusing on the contributions of others can help keep one grounded and less likely to succumb to hubris. By being mindful of the risks of pride and taking steps to prevent its negative effects, individuals can avoid the fate of those who have fallen victim to “What Pride Had Wrought.”

James, a young and enthusiastic gamer. With a passion for gaming, he personally plays and experiences the games he writes about, providing authentic and insightful content to fellow gamers.