
This page is dedicated to the walkthrough of the 1st chapter of Route A – Prologue and Factory, in NieR Automata. Here, you will find all the necessary information to successfully complete the prologue and the Abandoned Factory. Discover how to win the first battles in the game, defeat the bosses Buzzsaw and Goliath (a giant machine from the factory), and what you have to do during your first visit to the Bunker.
It is important to note that the recommended difficulty level and the main differences between them can be found on the Difficulty levels page. Fortunately, you can change the difficulty level freely in the game options.
- Prologue – Flight Suit
- Buzzsaw mini-boss
- Factory Recon – going through the factory
- Buzzsaw mini-boss – second fight
- Goliath boss – first phase of the fight
- Goliath boss – second phase of the fight
- Reboot – first visit to the Bunker
Prologue – Flight Suit
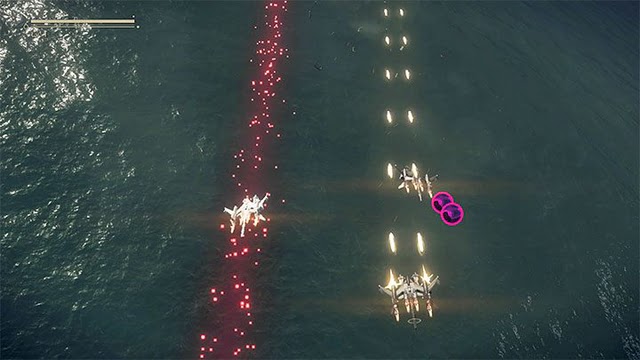
The game begins with a flight sequence that resembles bullet hell titles. You must shoot down other enemy machines.
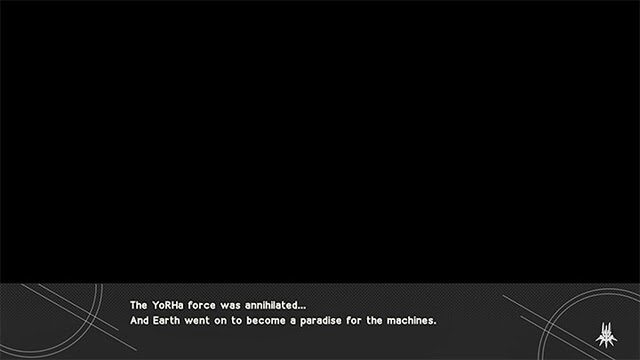
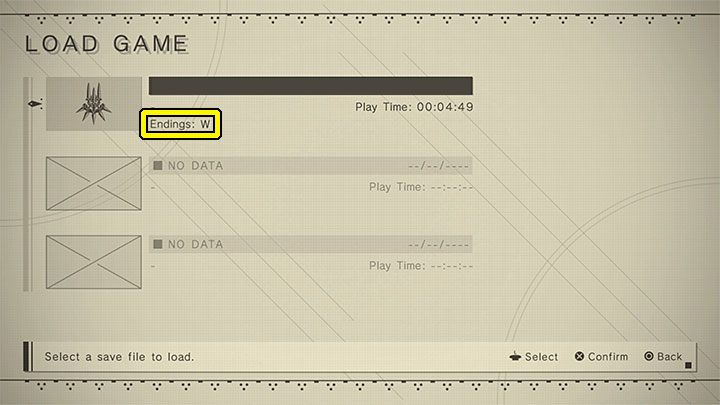
One interesting thing to note is that at the very beginning of the game, you can unlock the hidden W ending. To do so, let the enemies destroy your flying machine by flying towards the laser’s line of fire and getting hit. After you die, the game will show you the speed-up end credits and a confirmation that you have watched the Broken Wings ending. All additional endings are automatically saved and will be displayed in the descriptions of the saves you create.
After restarting the game, you can start attacking enemy machines and avoiding their attacks:
- Use the left stick to move around.
- To fire, press R1.
- Activate the heavy attack using Triangle.
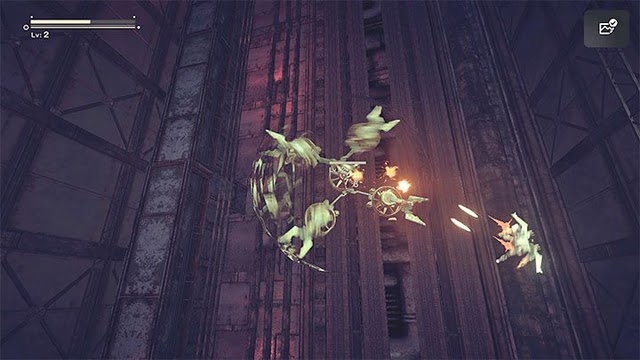
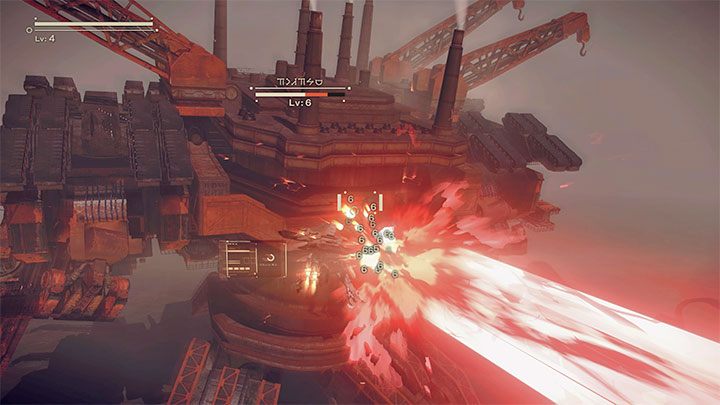
- Use R2 to avoid enemy attacks – watch out for the large laser. This attack is telegraphed by red dots (example in the picture) – you may have to escape to the side.
In the second part of the flight, the perspective will change slightly. Here, you must use the right stick to determine the direction of the missiles. Move a lot and use dodges to avoid bullets.
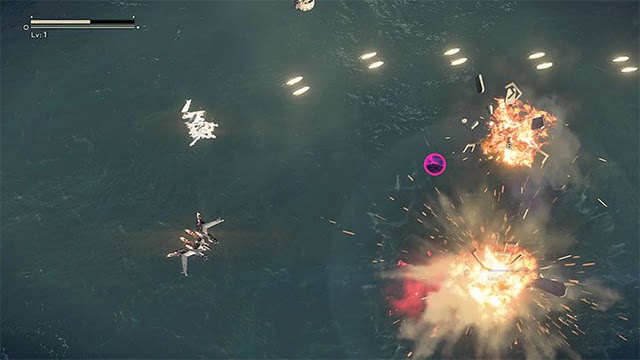
After defeating the enemy machines, you will begin the final section of the flight towards the factory. Use the left stick to avoid hitting the obstacles. You will now have to fight while the camera changes its perspective.
A larger flying machine will appear. Shoot its weak points and keep the enemy at a distance. Use dodge if the enemy gets too close. The heroes will then reach the Abandoned Factory, and from now on, you’ll be moving around on foot.
Buzzsaw mini-boss
Before confronting the first boss, you will learn the basics of combat during battles with standard opponents – small machines:
- To perform a light attack, press Square. You can also chain combos by performing several attacks in a row.
- Heavy attacks can be done by pressing Triangle, and they too can be chained into combos.
- Press R2 to dodge attacks.
- Activate ranged attacks by pressing R1. Use them as often as possible, especially since the Pod has unlimited ammunition.
- Activate the Pod’s program by pressing L1. This is a special skill that starts with a powerful laser. Use it to deal massive damage.
- To lock the camera on your opponent, press R3. This option is not available at higher difficulty levels, but it makes it easier to track enemies and shoot them.

The mini-boss Buzzsaw can destroy the wall and deal huge damage with its melee attacks. Dodge the enemy’s attacks and move away quickly when it attacks horizontally (example in picture 1). React quickly when it attacks vertically (example in picture 2) and use a dodge to move sideways.
- If you can, lock the camera on the mini-boss to have an easier time attacking it.
- Use ranged attacks, both standard (R1) and strong laser attacks (L1) that have a cooldown, to deplete Buzzsaw’s health bar faster.
After defeating the mini-boss, 9S will appear. The second Android will accompany you throughout the game and help you in battles. Talk to 9S to change his style of play, as you can’t give him specific commands.
Factory Recon – exploring the factory

You will receive a new objective to find the enemy Goliath-class unit. The game will unlock the system menu, where you can check the map, select items from inventory, set active weapons, set installed chips, or browse intel data.
Pay attention to Recovery items that can heal you after receiving damage. You cannot save the game during the prologue, so learn when you can save by reading the Saving – how to save? page.
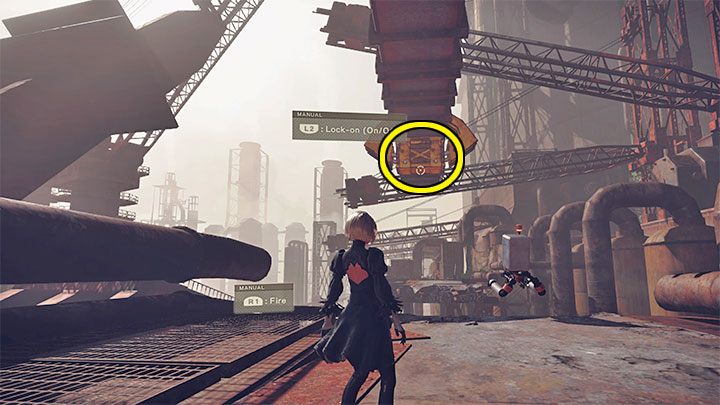
Shoot the yellow upper fragment to bring down the structure and unlock the passage. You can lock the camera on the target if you wish.
Eliminate flying opponents by using ranged attacks, including the laser attack. You can also jump towards them (use double jump) and attack with a melee weapon. The path through the factory is linear, so interact with glowing points and open chests to collect loot. Destroy projectiles flying towards you, or dodge them.
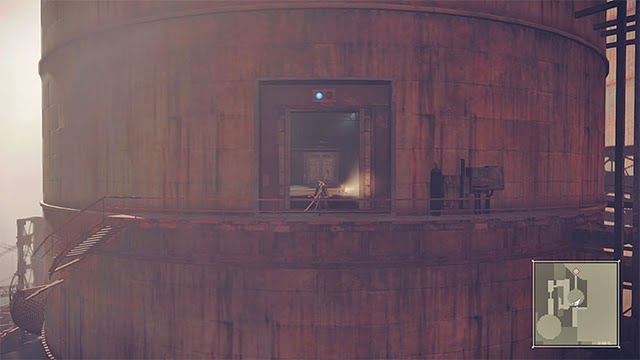
In certain areas of the game, the camera angle will be fixed and you won’t be able to adjust it. Remember that you can jump over bullets and enemies. Follow the entrance to the silo and be prepared for more battles. Once you’ve defeated your enemies, choose the passage that has a blue light above it.
In the next area, the game will switch to a top-down view. Use the right stick to aim and shoot. Deal with the machines that emerge from the containers and then climb up using the staircase. Be careful of the larger machines and try to avoid their attacks.
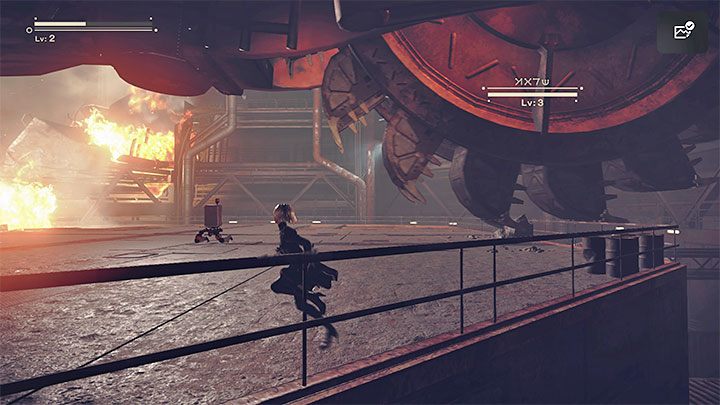
The Buzzsaw mini-boss fight will occur on a large open space. Two machines will appear when you try to cross the bridge. The machines aren’t more powerful, but since there are two of them, you’ll need to be more careful when dodging their attacks. Use Pod’s attacks, especially the strong laser attacks. The fight will end when the mini-bosses lose half of their health.
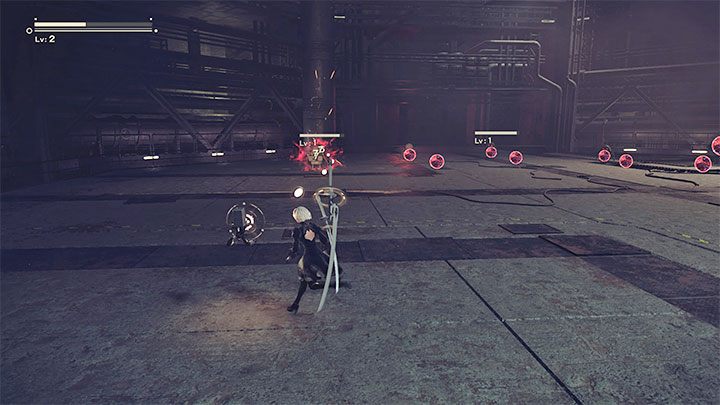
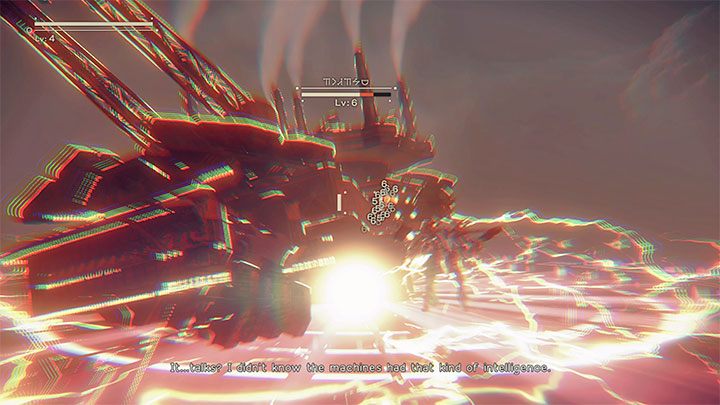
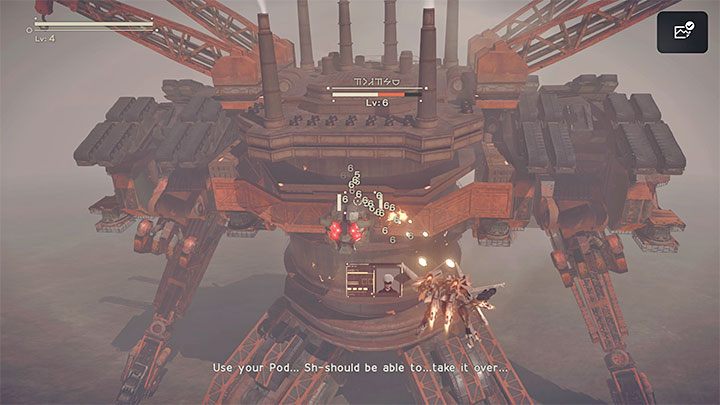
Goliath is the main boss of the prologue. Use Pod’s standard bullets and laser attacks to decrease its health. Avoid getting hit by the missiles by running away or shooting them down. Goliath’s attacks involve large saws like the ones used by the mini-bosses. Avoid getting hit by dodging or standing in the middle of the saws. Melee attacks can also be used to weaken Goliath faster. Watch out for the red circles on the ground that indicate where rockets will land. When the boss disappears underwater, start running towards the bottom of the screen. Keep fighting until you trigger a cut-scene. After the cut-scene, climb the Goliath by running towards the screen on the small curvy balconies. Deal with the regular machines on the way and destroy the ones hiding behind small shields using melee attacks.
Second Phase of Goliath Boss Fight
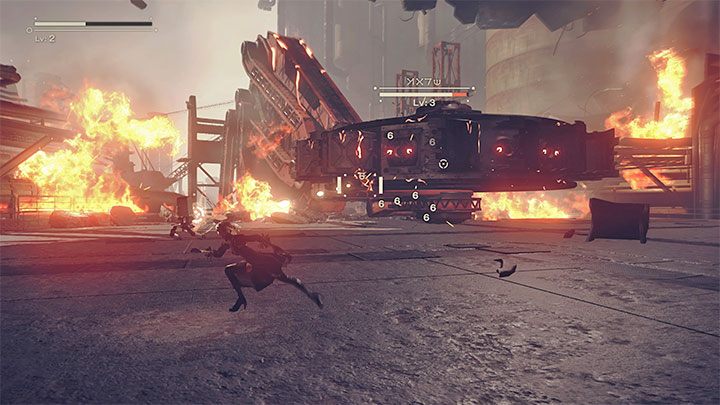
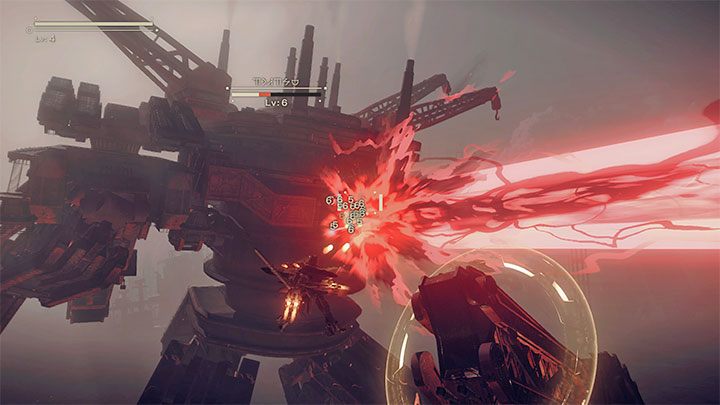
After a cut-scene, the second phase of the Goliath boss fight will begin. 2B will be using a Flight Suit, and the battle will take place in the air. It is recommended to attack the boss from a distance.
The boss will rely on powerful horizontal area attacks during this phase, which are telegraphed. To avoid them, move up and out of range. Goliath can also shoot homing rockets, which can be destroyed in flight or dodged by moving to the sides.
Goliath may also perform horizontal limb swings, which are slow and easy to avoid. However, it is important to remember to dodge them. The boss can also shoot a large laser beam that deals massive damage and is not telegraphed well. Be prepared to dodge at any time.
At some point, the boss will hit 2B with a limb and throw her away. During the flight back towards the boss, be prepared to dodge projectiles and laser attacks by moving around the screen frequently.
When the boss loses one of its limbs, it can be used to weaken it effectively by pressing the melee button. It is also possible to use ranged attacks, although they are less effective. Avoid the last laser attacks and continue fighting until Goliath loses all its health. Watch the cut-scene, and then proceed to the Bunker, a large space station drifting in orbit.
First Visit to the Bunker after Reboot
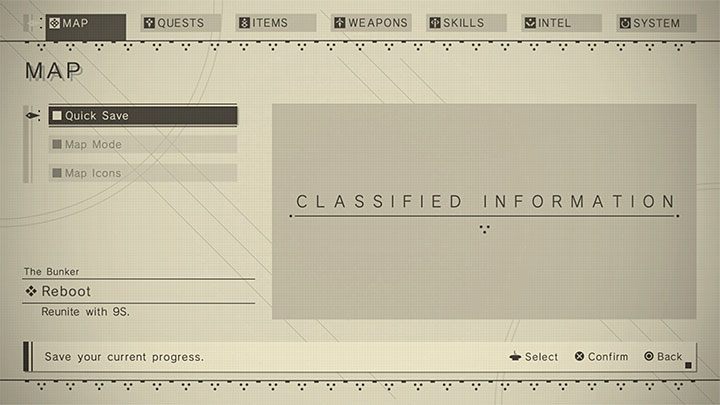
After regaining control of 2B, save the game for the first time by making a quick save on the Map tab or a manual save on the System tab. It is important to remember to save the game manually, as there are no autosaves.

To unlock the hidden ending T, access the system menu, go to the Skills tab, select Plug-in Chips, and choose the Destroy Chip option. Then select the OS Chip, and after the game displays and saves the ending, 2B will appear back in the Bunker.
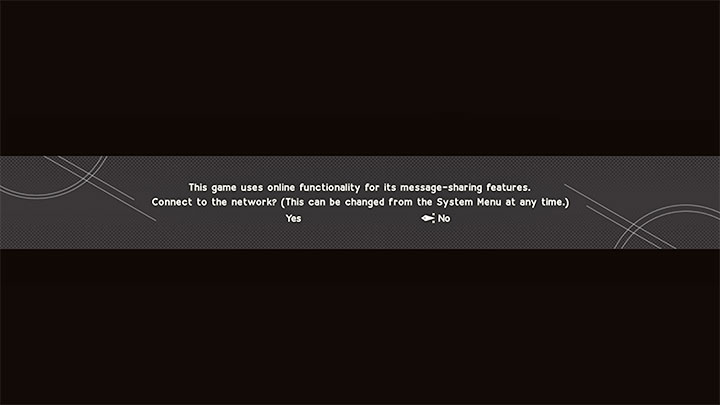
Follow the main path of the station and meet 9S. The game may suggest enabling Network Features, which allow players to find other players’ bodies in the world and collect loot. It is recommended to enable this option. After an introduction to the events of the game, make adjustments to several settings in the system menu.
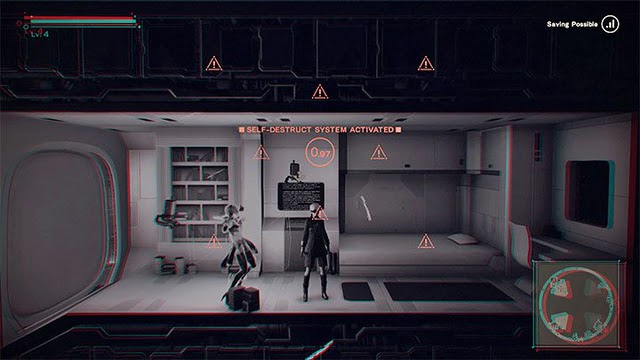
It is important to note that in the system menu, one of the steps was to activate the Self-Destruct function. Once you have saved the game, press and hold L3+R3 to self-destruct 2B which will unlock the hidden ending U.
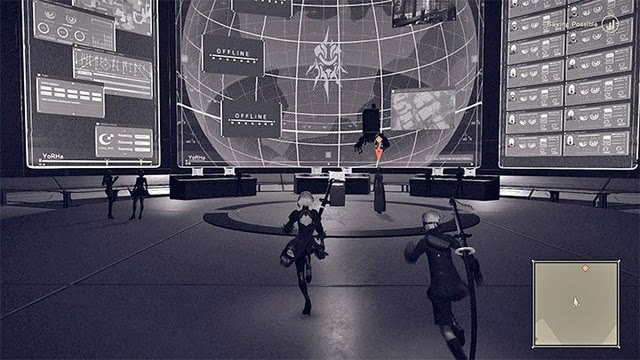
Once you are “reborn” again, you can explore the Bunker further and participate in various optional activities such as checking other rooms for loot, interacting with terminals and the Access Point to read emails, using the bed to rest, and shopping for the first time. However, the main objective is to meet with the Commander, so follow the mini-map to reach the command center and attend the briefing.
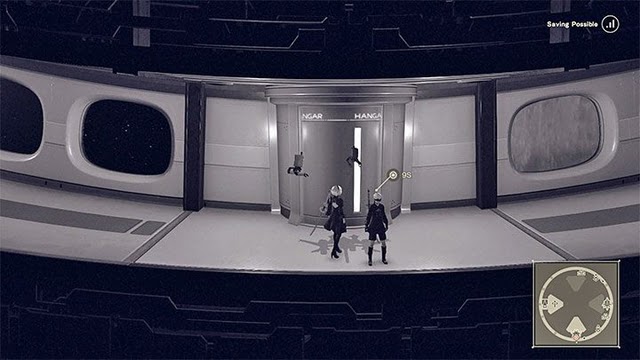
After the briefing, return to the main corridor and make your way to the elevator that leads to the hangar. Go to the right and approach the Flight Suits to return to Earth.
FAQ
1. What is NieR Automata?
NieR Automata is an action role-playing video game developed by PlatinumGames and published by Square Enix. The game is set in a post-apocalyptic world where humanity has fled to the moon and left behind androids to fight the machines that have taken over the earth. Players control the androids, 2B and 9S, as they battle their way through various missions and uncover the truth about the world they live in. The game features a unique combat system that blends hack-and-slash gameplay with shooting elements, as well as multiple endings that depend on the player’s choices throughout the game.
2. What is Chapter 1, Route A?
Chapter 1, Route A is the first section of the game’s story that players will experience. It follows 2B and 9S as they are sent to investigate a machine infestation in the city ruins. The chapter serves as a tutorial for the game’s combat mechanics and introduces players to some of the key characters and themes of the story. As players progress through the chapter, they will encounter a boss battle and several side quests that can be completed for additional rewards. Chapter 1, Route A is just the beginning of the game’s story, with multiple routes and endings available depending on the player’s choices and actions throughout the game.

James, a young and enthusiastic gamer. With a passion for gaming, he personally plays and experiences the games he writes about, providing authentic and insightful content to fellow gamers.